
Getting started with Targeted Email checklist
Below is a checklist you can use for getting started with sending email in Targeted Email, including details and resources for each:
Configuring your sending domain
- Choose your sending domain
- Verify sending email address has an inbox
- Verify MX record inbox are in place
- Add SPF record
- Add DKIM record
- Register domain in Targeted Email
- Add DMARC record*
- Setup a Google Postmaster Tools account for your sending domain
Adding footer details
- Organization Address added
- Disclaimer added (if required)
Customize the look of your emails
- Email template created (optional)
Building your audiences
- Kick off domain warming for first 30 days of sends
Always be testing
- Implement internal process for checklisting each email before send
*If this requirement is applicable to your organization. You can read more about this requirement and whether it applies to your organization here.
Configuring your sending domain
Determine which domain you will be using for your From email address on your email sends in NGP VAN. This should be a domain your organization owns and not a “freemail domain” (Gmail, Yahoo, etc.) Additionally, this sending domain should have an MX record in place and have an active inbox associated with it in order to bolster your sending reputation and thusly, aid in deliverability. You may also use a subdomain instead of your apex domain, such as send.peopleforgood.org.
Once your From email domain is determined, you will need to add an SPF and a DKIM record to your domain’s DNS zone file. Here are instructions on how to do this.
- You can confirm these records are added correctly by clicking “Settings” from Targeted Email, then entering your domain. You will also need to Register your domain on this page:

DMARC is another record you can add to your DNS. This record tells email service providers what to do if they receive an email from your domain that does not ‘align’ with your SPF or DKIM records. You can read more about adding this record here.
You can check your DMARC alignment by sending an email through Targeted Email to a Gmail account. Send the email using an email address with your domain as the From Address (as you normally would). Open the email in Gmail and select “Show Original” from the ellipse menu in the upper right. A new page will open and in the table at the top, you will see rows for SPF, DKIM, and DMARC with an indication of Pass or Fail.
Here is what a DMARC FAIL looks like:

Here is what a DMARC PASS looks like:

Set up a Google Postmaster Tools account for your sending domain
You will need to keep SPAM rates reported in Google Postmaster Tools below 0.3% in order to comply with their requirements. Postmaster Tools is a free service from Gmail. It reports on SPAM rates associated with your sending domain to Gmail. To monitor this, we encourage you to signup for Postmaster Tools.
Adding footer details
Once your SPF & DKIM records are set up, you will want to make sure your Organization Address and Disclaimer language (if required) are set up. To do so, click “Create New Email” and you will be prompted to add values for these fields in a window that looks like this:
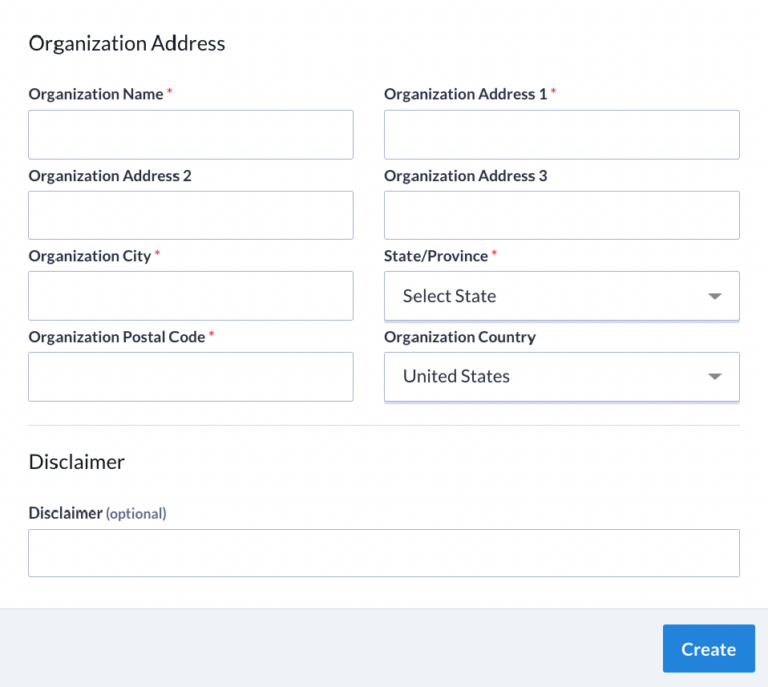
Once complete, these values will populate automatically via the {{Disclaimer}} and {{OrganizationAddress}} merge fields. If you ever need to update this information, you can edit them by opening a draft and selecting Merge Fields > Footer > Edit Footer Options and it will take effect on subsequently created new email drafts.
Customize the look of your emails
When creating emails in Targeted Email, you can choose either the Classic Editor or the Drag & Drop Editor. With the Classic Editor, you may opt to build a custom theme, which is made up of code that wraps around the header and footer of the email to customize the look and feel of your emails. A front-end developer is needed to build this. If you prefer a simplified look to your emails, you can simply upload your logo.
If you use the Drag & Drop Editor, you can customize the look and feel of your email without the need for custom code work by simply choosing a template with a pre-formatted design and simply uploading any images you would like to incorporate.
Building your audiences
Once you are ready to start sending emails from Targeted Email, you will need to warm the sending domain you chose in Step 1, to build your sending reputation. The goal is to slowly build up your email send volume over the first thirty days or so of email sending by targeting your most engaged audiences, sending your best-performing emails, and paying close attention to stats overall and at the ISP level.
Here is some guidance on what a sample warm-up schedule may look like.
Always be testing
Prior to sending any Targeted Email, it is important to send yourself samples to verify the email looks the way you intend it to and all of the links are working. You can also utilize a service such as Litmus or Email on Acid to view how your email will appear in boxes across email services providers and devices.